Feliz inicio de semana chicas! El mes de septiembre (como bien lo saben las mexicanas) es un mes de fiesta en México porque celebramos nuestra independencia el día 16, y en honor a eso todos los lunes durante este mes estaré ocupando esmaltes de origen nacional para hacer un manicure.
Hay muchas marcas mexicanas de esmaltes, para todos los gustos y para todos los bolsillos. Están Bissú, Pitahia, Renova, Kuru, Manière Vernis, Mundo de Uñas, Shunashi...por mencionar algunas.
Quise empezar esta serie con la marca Bissú. Estos esmaltes son hechos en el estado más pequeñito del país: Tlaxcala. Y deben ser de los más populares! Su precio es muy accesible (ronda los $20 pesos, algo así como 1.50 USD) y en el centro de la Ciudad de México se consiguen aún maaaas baratos!
Ultimamente esta marca se ha puesto mucho las pilas. Además de su línea de esmaltes cremosos y de glitter, sacaron una de acabado mate (Gotas de Seda) y ahora los texturizados de la línea Stardust. Así que andan muy actualizados en tendencias en uñas.
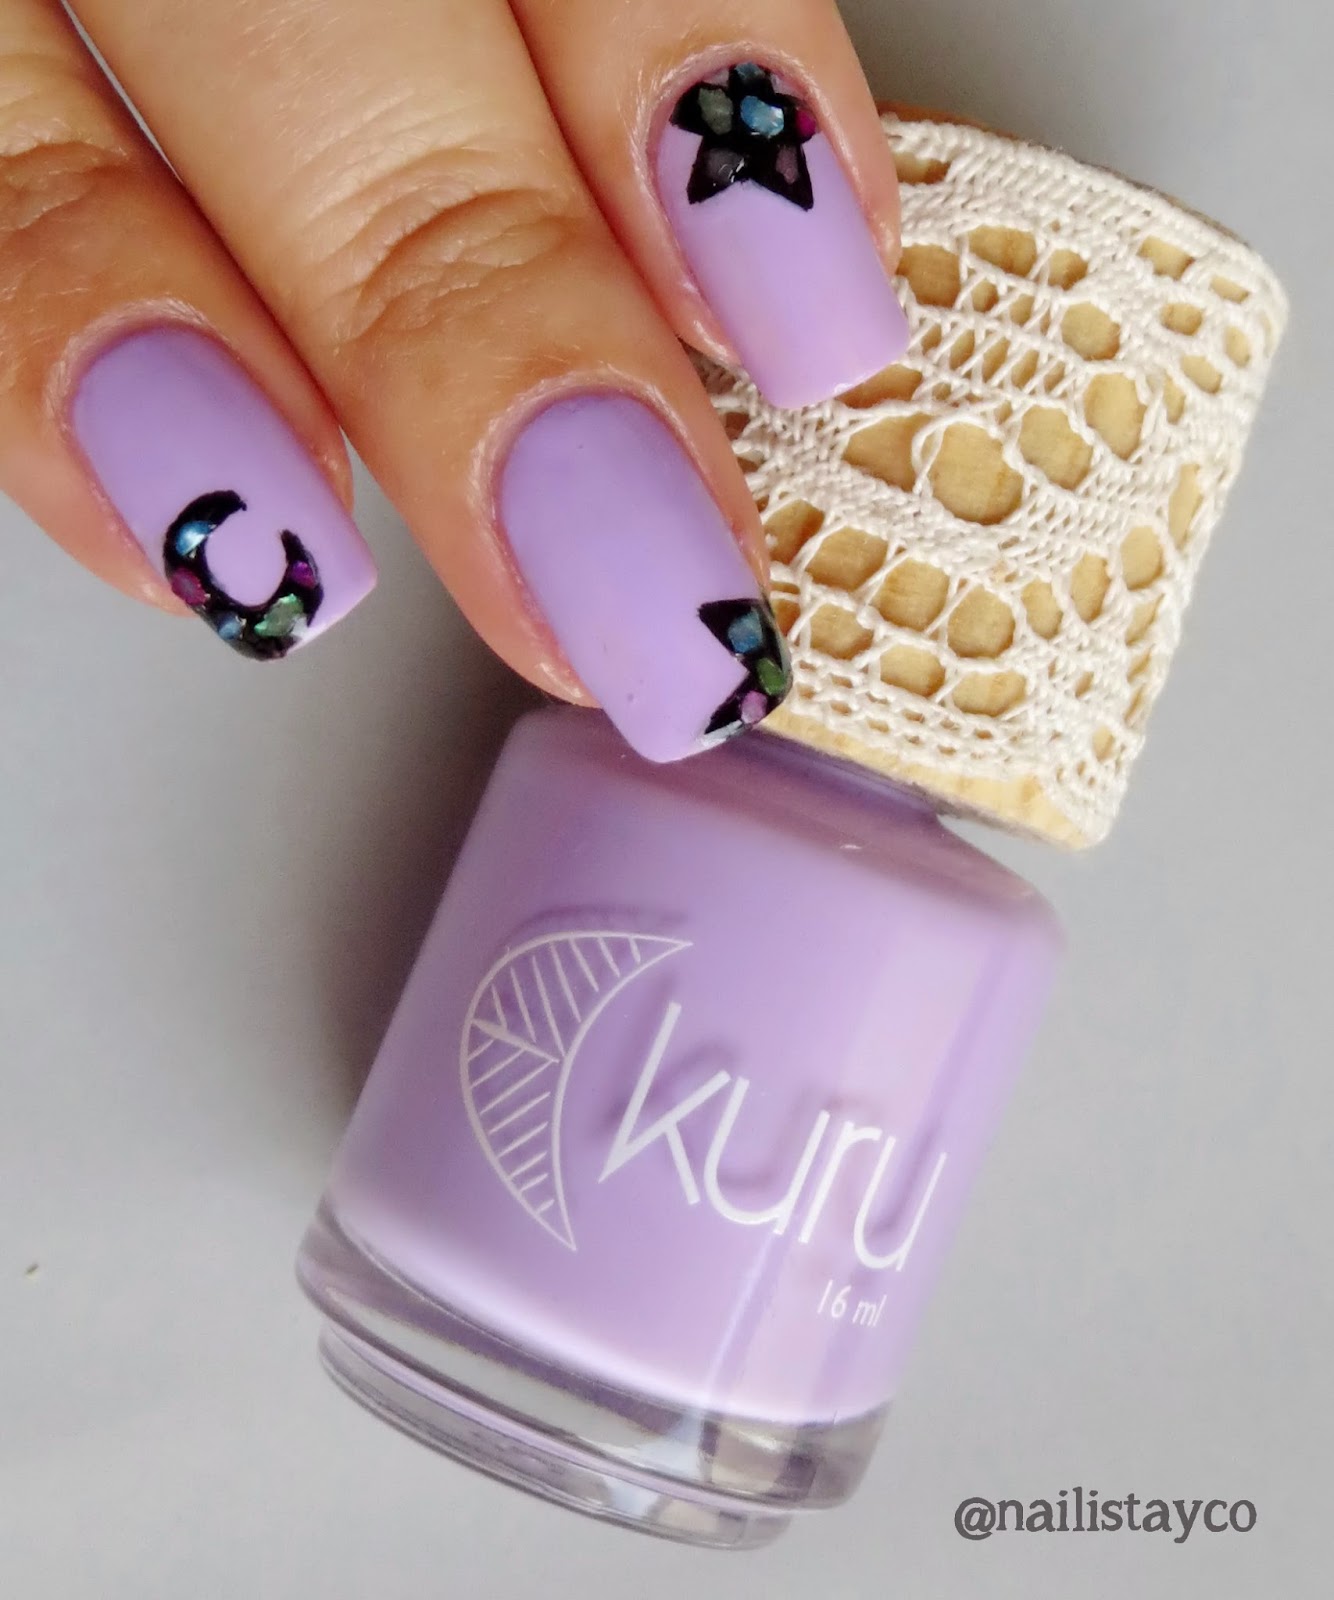
El esmalte que les presento hoy es precisamente de la línea Stardust. Se llama Resplandor Rosa y es un rosa pálido texturizdo con shimmer dorado y microglitter iridescente, muy, muy bello.
Usé tres capas. Tarda un poquito en secar por completo, pero de ahí en fuera no tengo más quejas. Ni siquiera huele fuerte (que es algo que normalmente espero de los esmaltes de bajo costo).
En mis fotos no se logra apreciar el shimmer dorado que hace tan lindo a este esmalte, pero por favor créanme que es bello ;)
Como un toquecito final, agregué unos triangulitos de Born Pretty Store que pueden adquirir con el número de ítem: 4112. También pueden usar el cupón de descuento FFJ61 para obtener el 10% de descuento en su compra.
Si tu también tienes esmaltes de marcas mexicanas, puedes publicar tus manicures en las redes sociales con el hashtag #mexicanmondays.
Espero que les haya gustado este esmaltito. Les dejo un besote y muchas gracias por visitar el blog!